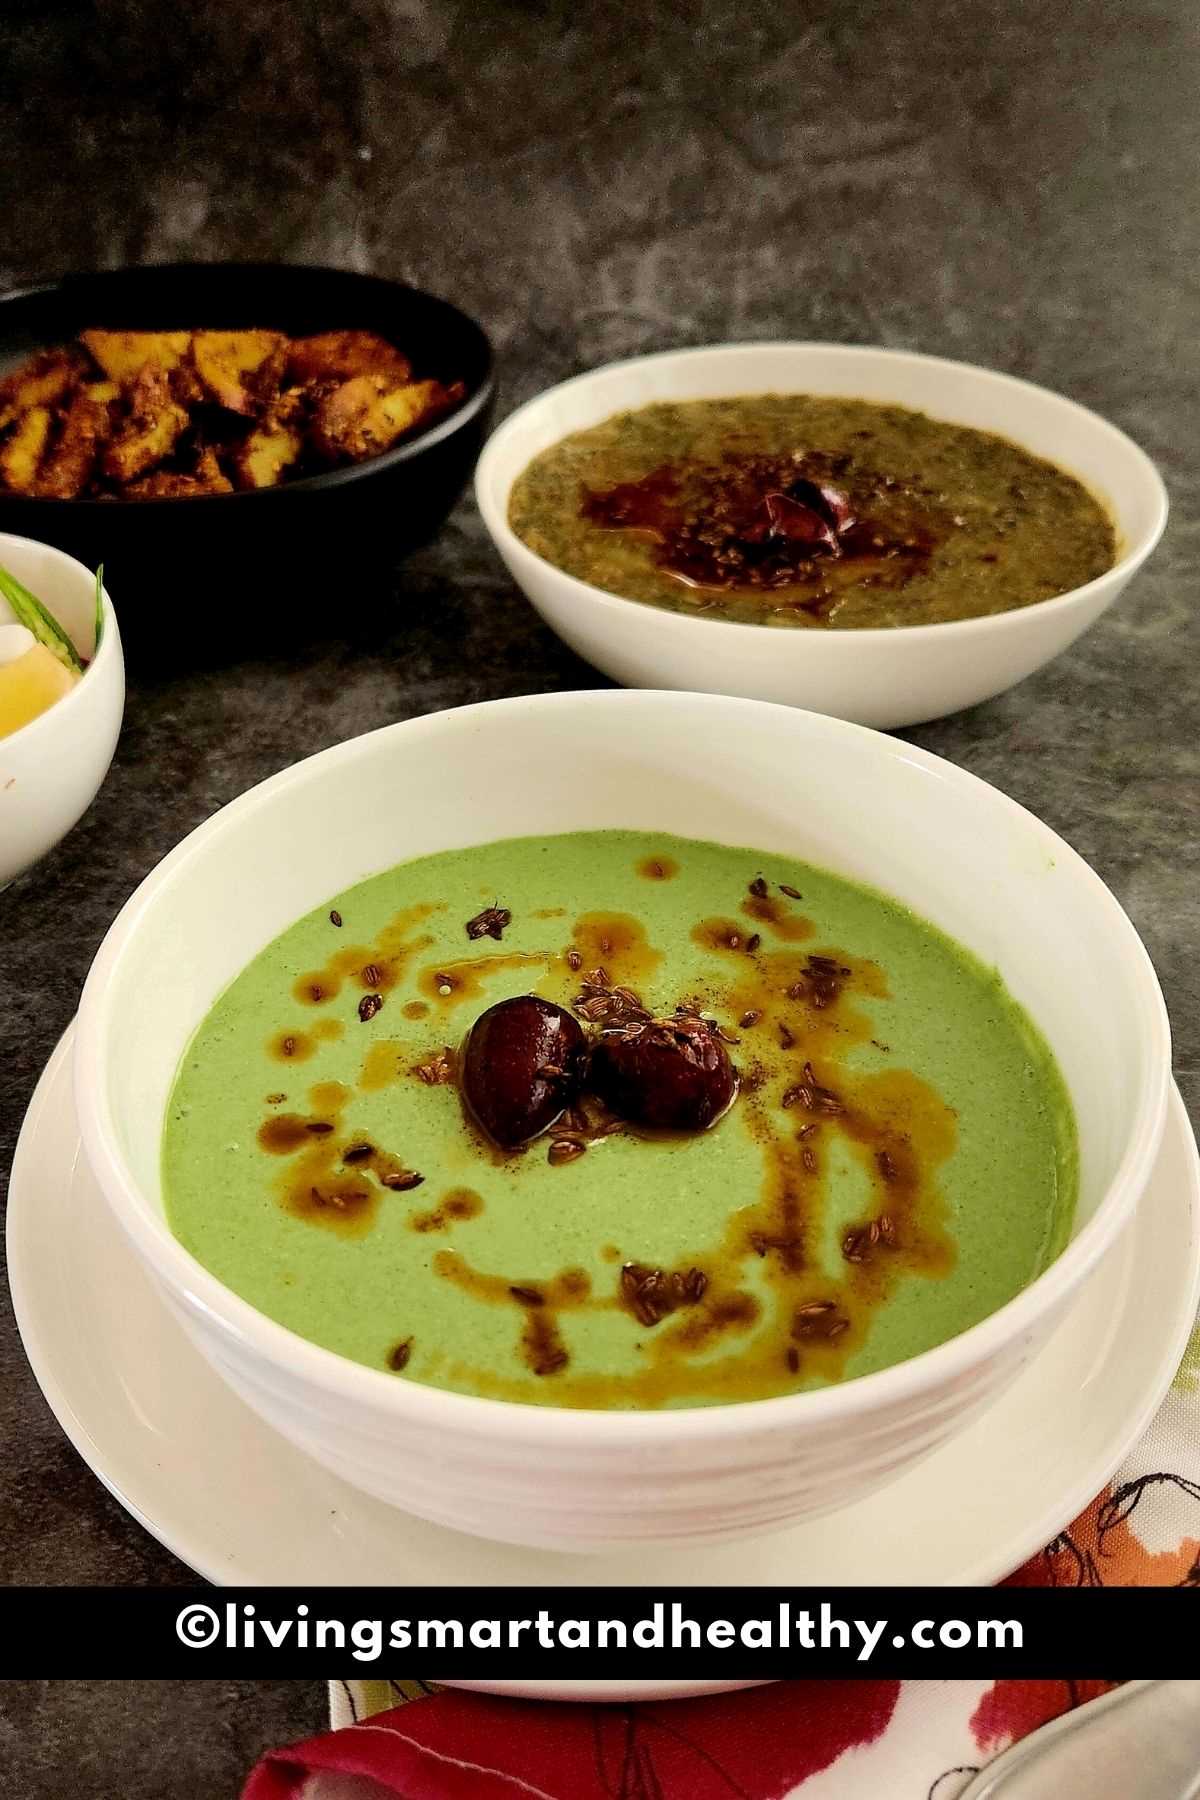
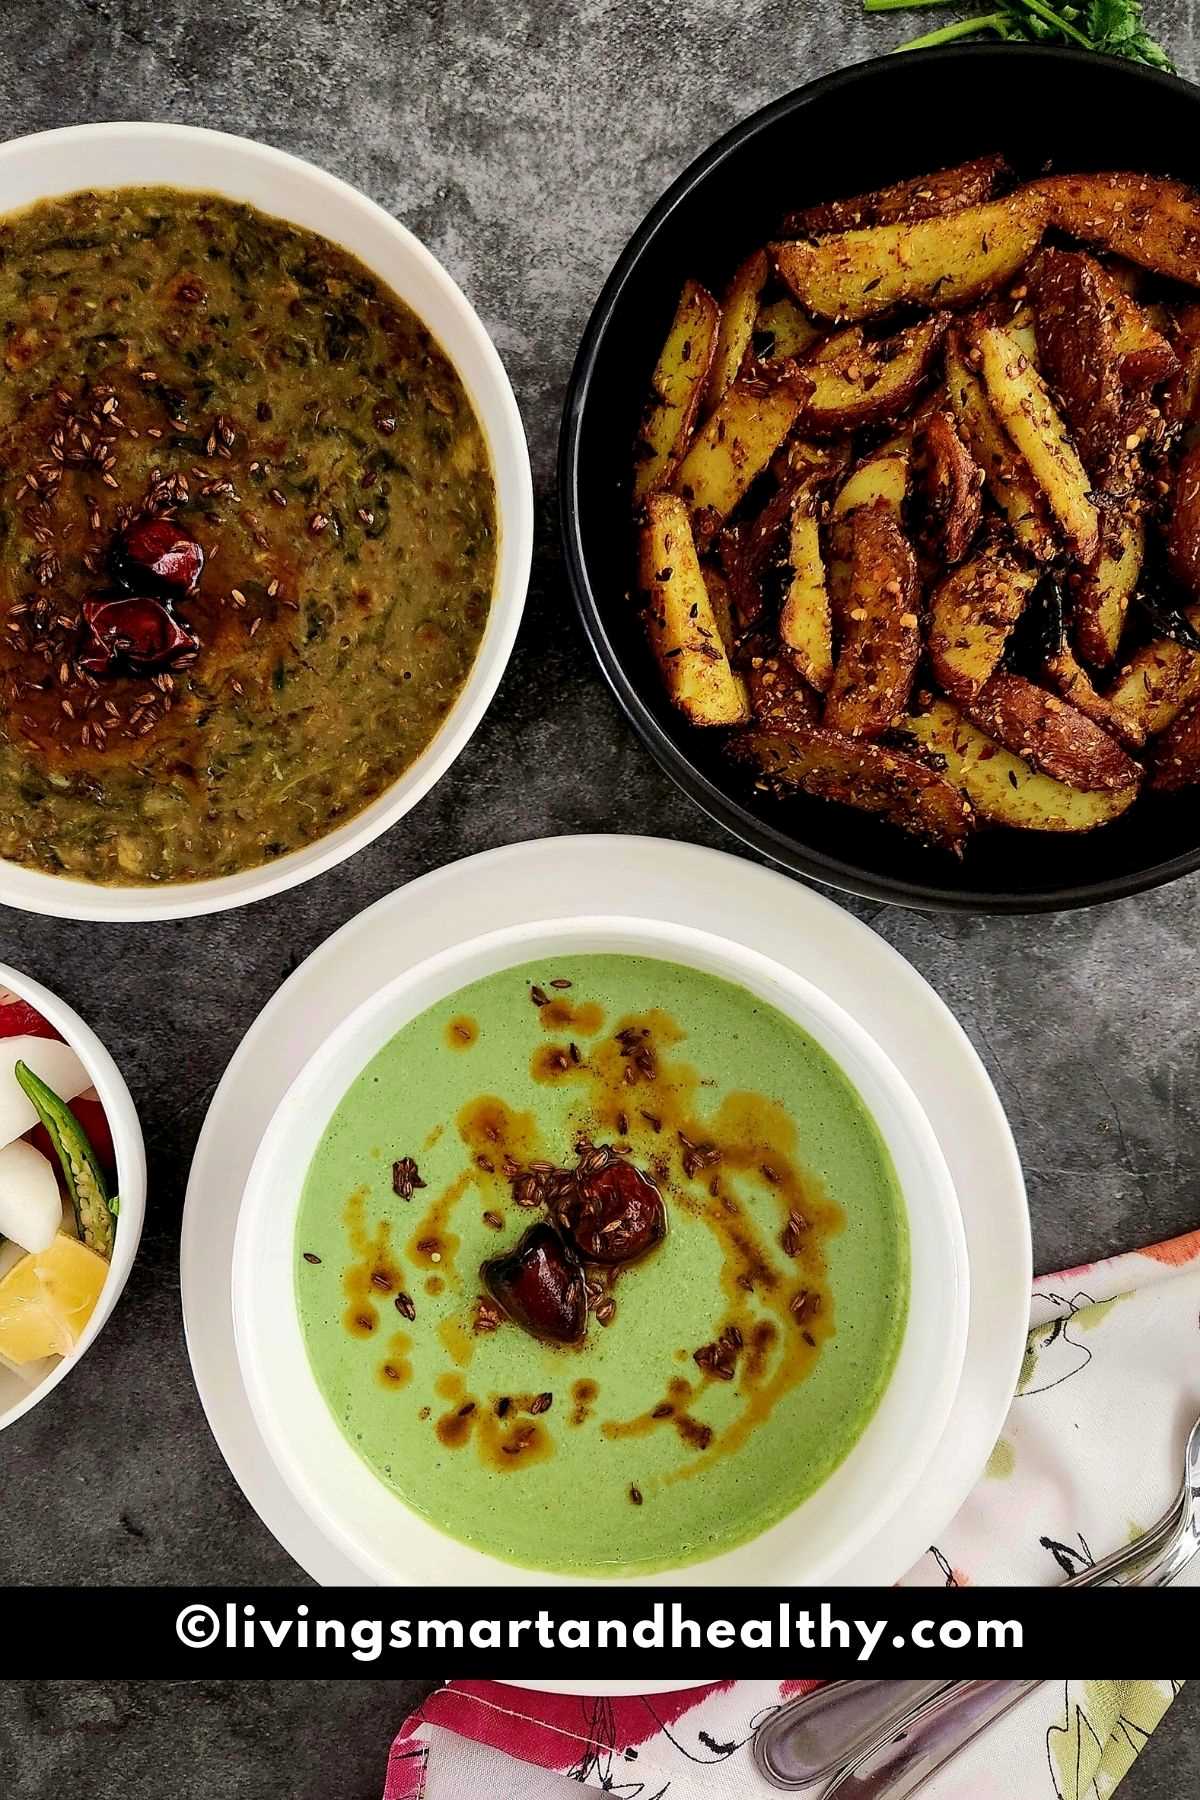
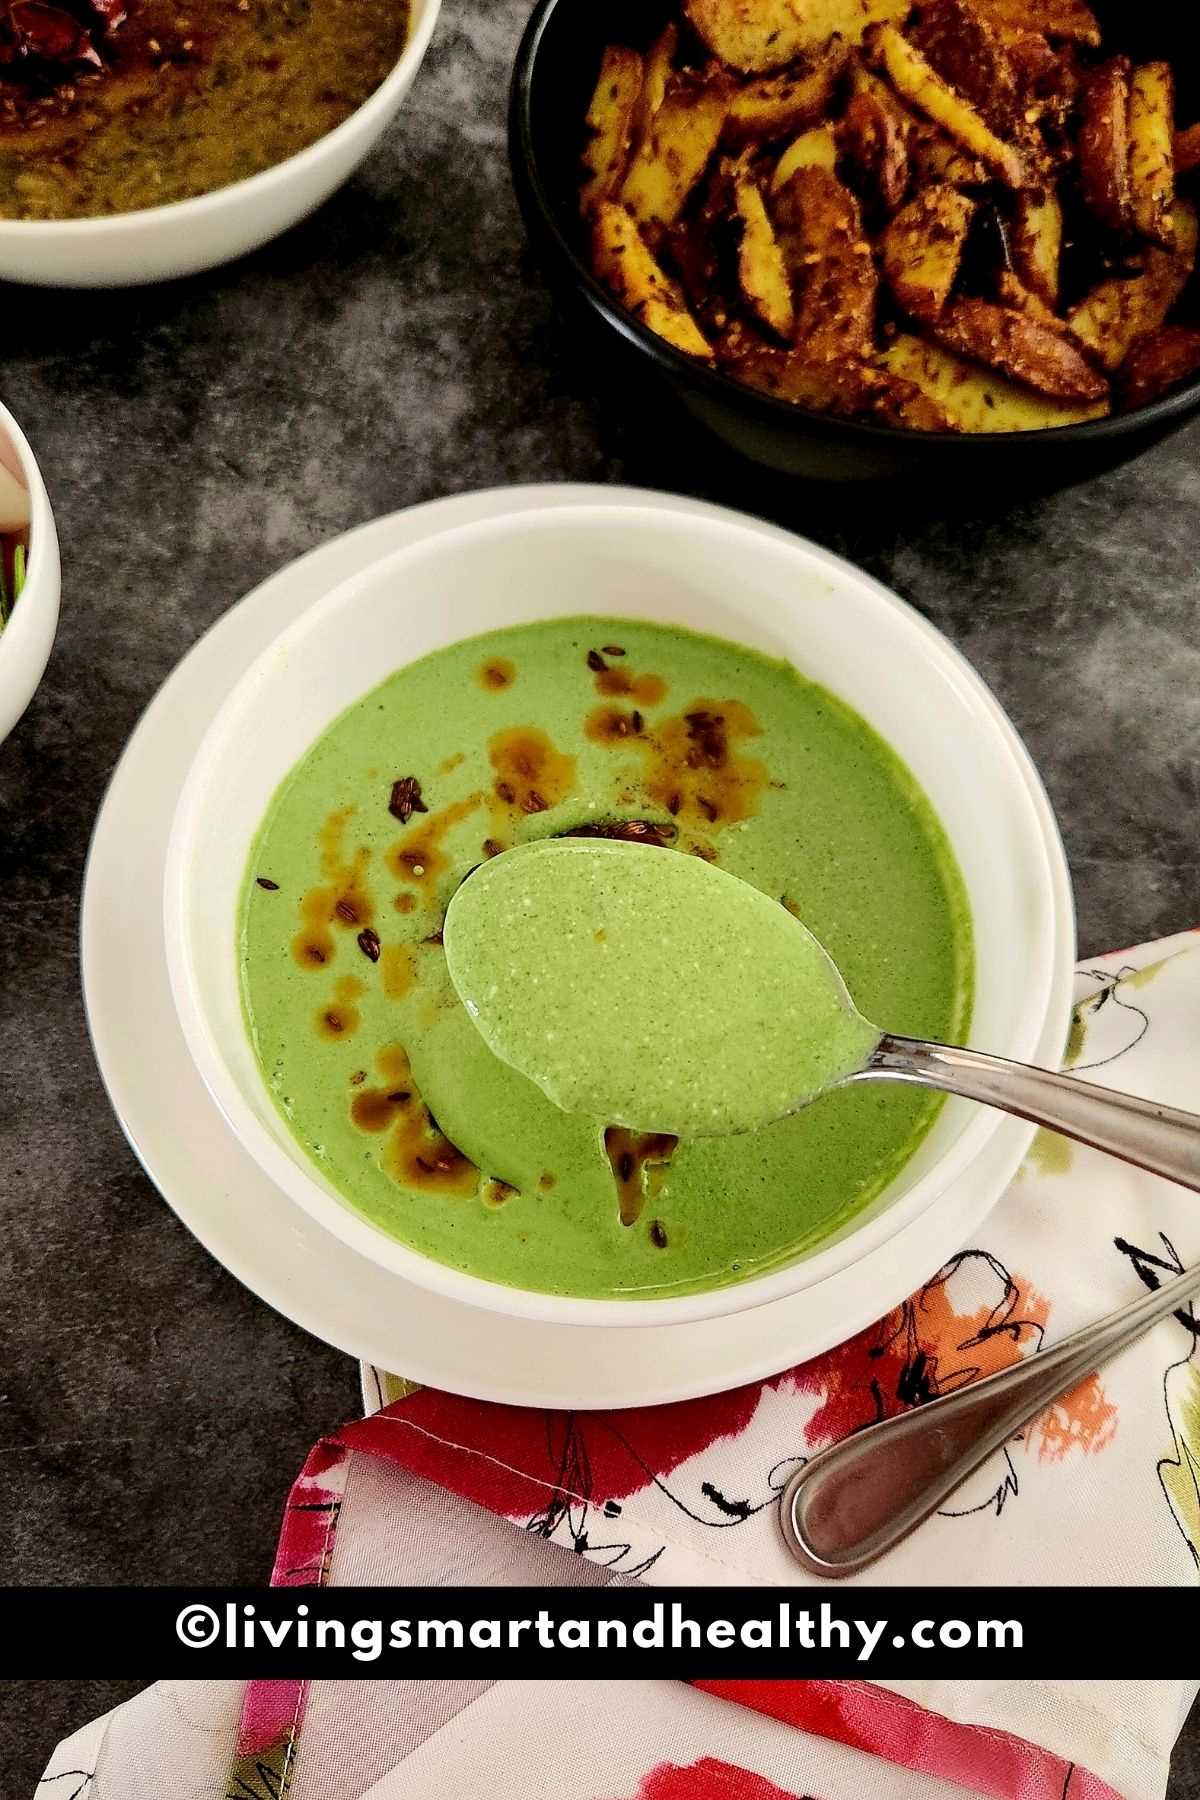
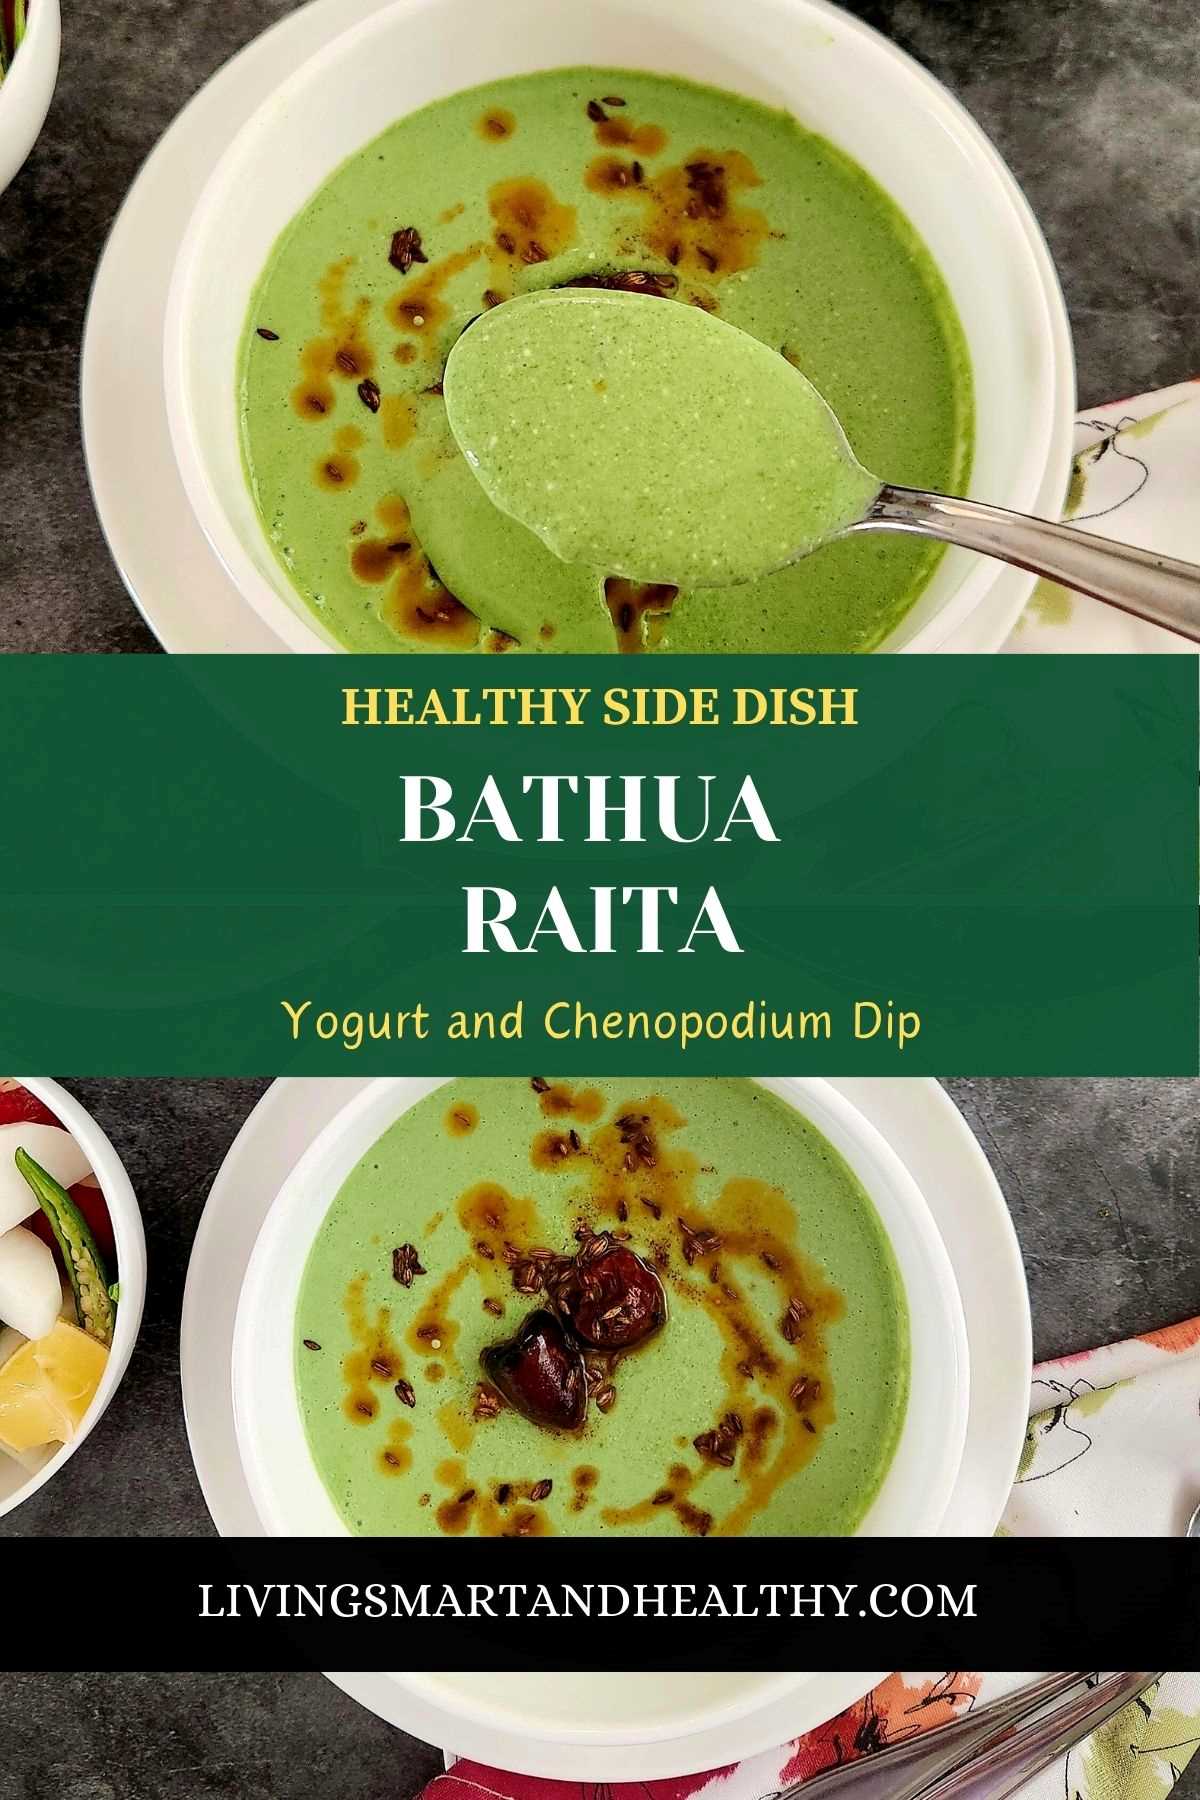
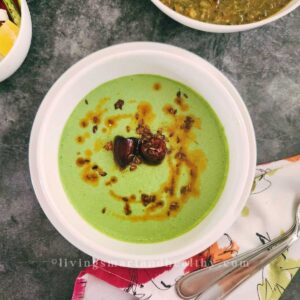
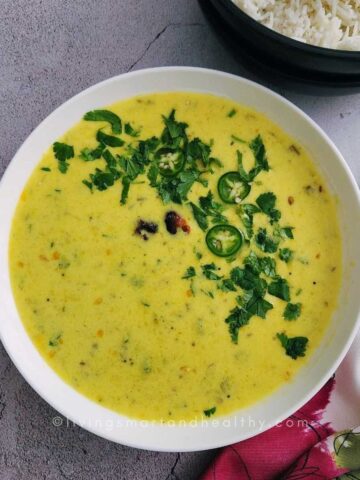
Bathua Raita: Delicious and refreshing North Indian Chenopodium Yogurt Dip, made with fresh bathua greens. Enjoy it alongside traditional Indian dishes.
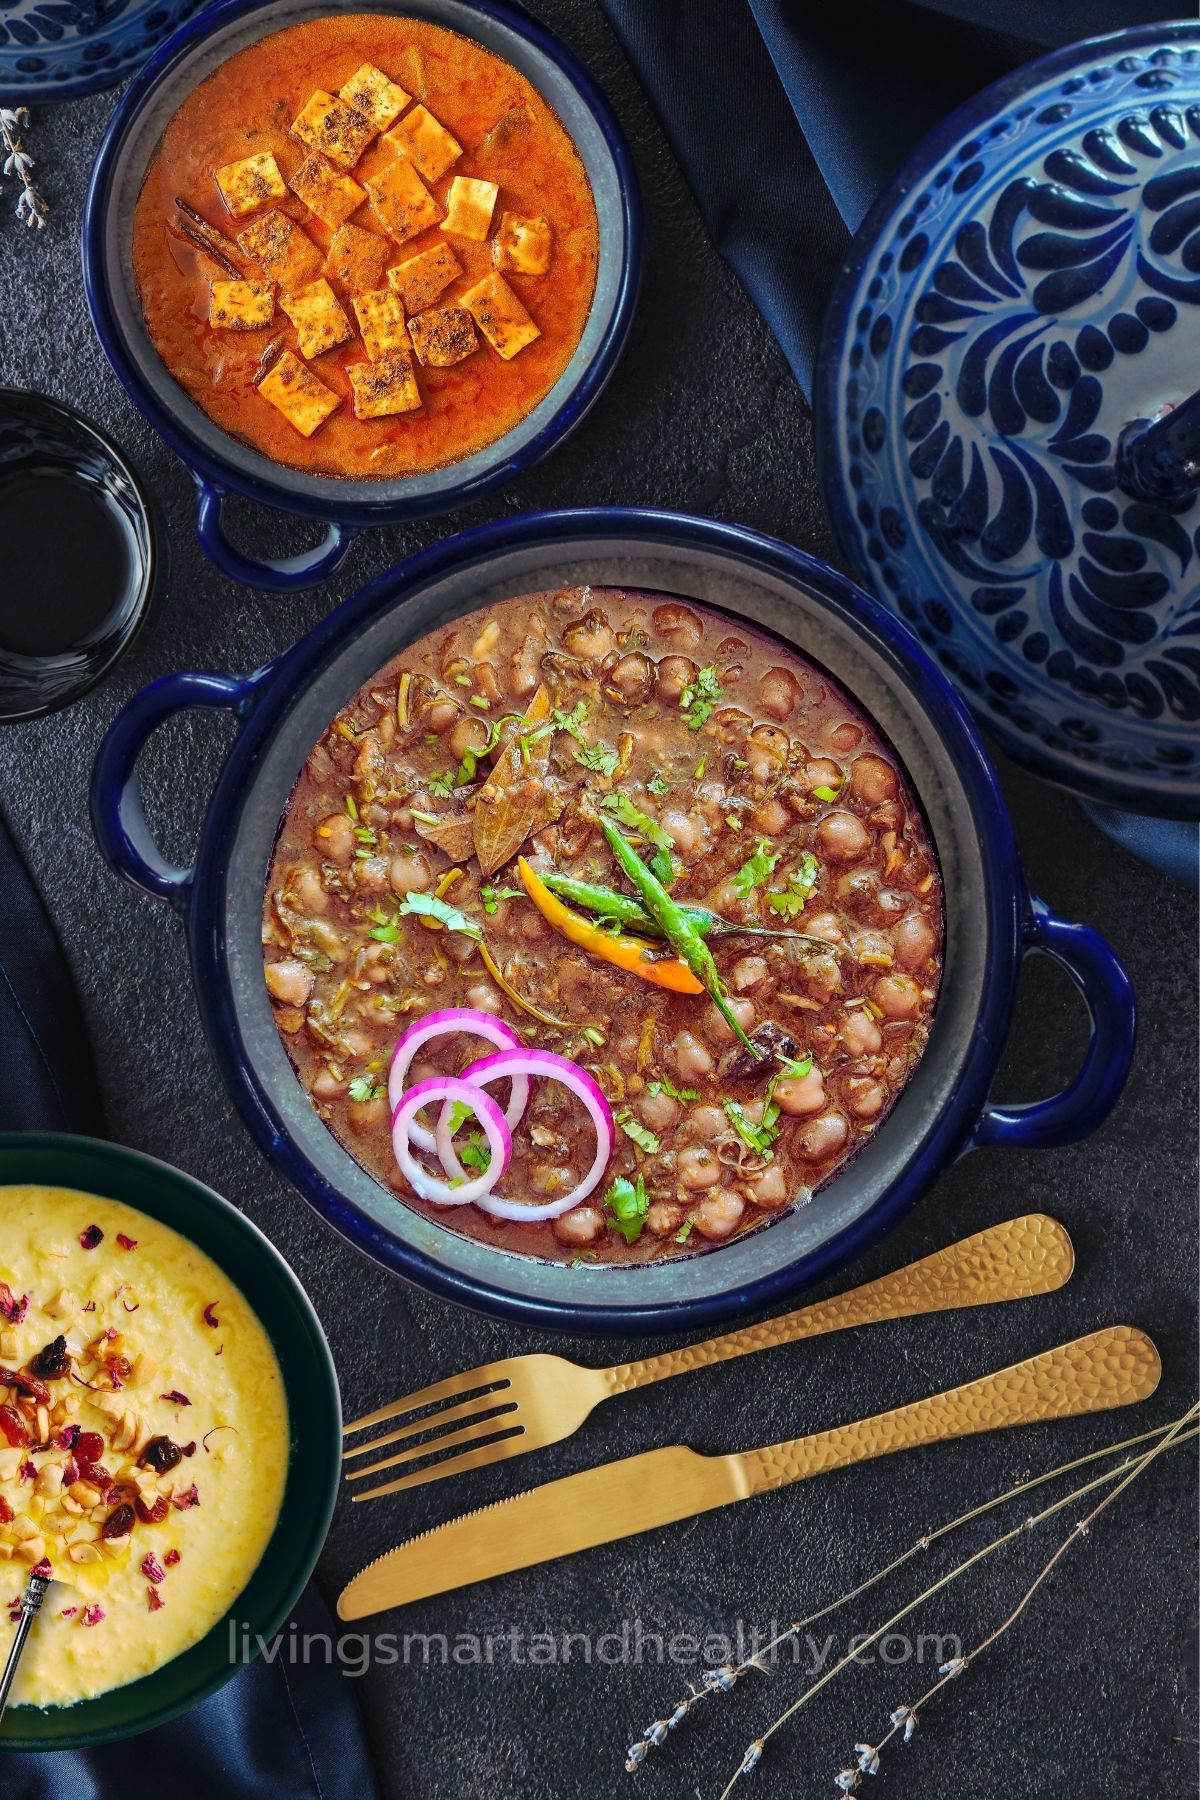
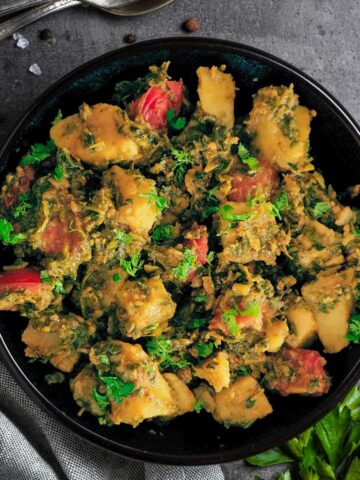
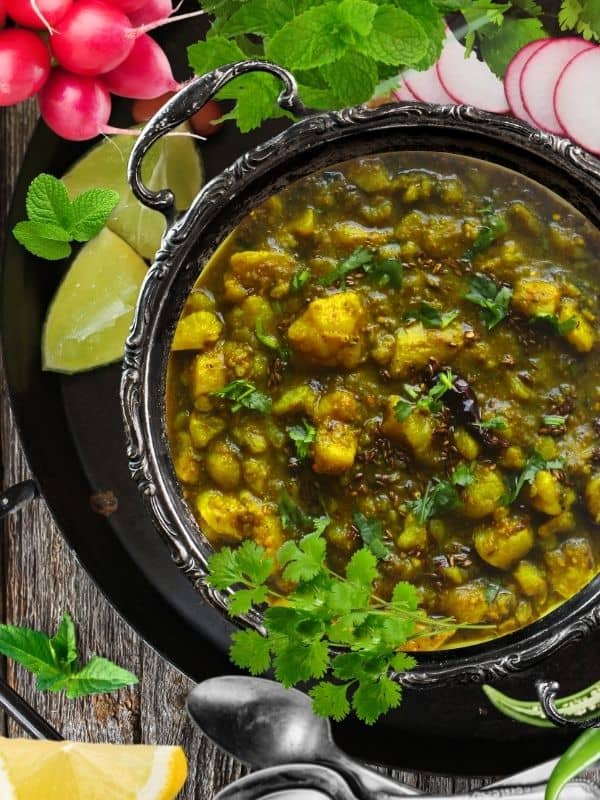
Love leafy green vegetables? Try these Indian recipes with leafy greens - Bathua Saag, Sarson ka Saag with Kale, Broccoli Palak Dal, and my popular recipe on the blog, restaurant favorite Palak Paneer in just 10 minutes!!
Jump to:
About Bathua Raita
Bathua Raita is a yogurt-based dish made with a leafy green called Bathua, which is known as Pigweed in English.
In this raita, instead of using whole Bathua leaves, the leaves are blanched and pureed before mixing with yogurt.
It's seasoned with spices like black salt and roasted cumin powder, and a tempering of ghee, cumin seeds, dry red chili, and asafoetida is added for flavor.
Bathua Raita is a creamy and flavorful side dish that pairs well with rice, roti (Indian flatbread), and biryani. The raita adds a refreshing taste to your meal with its unique earthy flavor and smooth texture.
This bathua raita recipe is vegetarian and gluten-free. You can easily make it vegan, simply replace yogurt with plant-based yogurt and ghee with mustard oil.
Ingredients for Bathua Raita recipe
You will need the following ingredients to make bathua raita:
- plain thick yogurt , homemade or store-bought
- bathua leaves
- green chili ,optional
- ginger
- garlic , optional
- black salt
- roasted cumin powder
- powdered sugar , optional
For Tadka (Tempering):
- ghee
- cumin seeds
- dry red chili
- asafoetida (hing)
How to make Bathua Raita?
Cleaning and Preparation of Bathua Leaves:
Clean the Bathua:
Separate the Bathua leaves from their stems.
Wash the leaves thoroughly under running water to remove any dirt or debris.
You can use a colander or a large bowl of water to soak and rinse the leaves.
Blanch the Bathua leaves:
Bring a pot of water to a boil.
Add the cleaned Bathua leaves to the boiling water and blanch them for about 2-3 minutes until they become tender.
Then, drain the water and transfer them into a bowl of ice cold water, to stop further cooking.
Puree the leaves:
Once cooled, transfer the blanched Bathua leaves to a blender or food processor.
Blend them until you get a smooth puree. Set aside.
Making Bathua Raita:
Mixing Raita:
In a mixing bowl, whisk the yogurt until smooth.
Add the pureed Bathua leaves, black salt, roasted cumin powder, and sugar powder to the yogurt. Mix well until all the ingredients are combined.
Tempering (Tadka):
Heat ghee in a small pan over medium heat.
Add cumin seeds to the hot ghee and let them splutter.
Then, add the dry red chili and asafoetida to the pan. Fry for a few seconds until the spices release their aroma.
Assembling:
Pour the prepared tadka (tempering) over the Bathua raita mixture.
Gently mix the tadka into the raita.
Serving:
Your Bathua Raita is now ready to serve.
It can be served as a side dish with rice, roti or paratha, or biryani.
Enjoy your flavorful and nutritious Bathua Raita!

How to clean Bathua?
Take off the leaves from the stems of Bathua. Put the leaves in a big pot filled with water. Stir the water gently and let the leaves soak for a bit.
After a minute, you'll see the mud settling at the bottom of the pot. Carefully take out the leaves from the water, avoiding the mud.
Repeat this process 2-3 times until the water runs clean.
Now, chop or blend the Bathua leaves, and you can use them in your cooking!
Tips
Here are some tips to make delicious Bathua Raita:
- Fresh Bathua Leaves: Use fresh Bathua leaves for the best flavor. Look for leaves that are vibrant green and free from wilting or yellowing.
- Thorough Cleaning: Ensure that you clean the Bathua leaves properly to remove any dirt or debris. Follow the steps mentioned earlier for cleaning and blanching.
- Balanced Seasoning: Adjust the amount of black salt and sugar powder according to your taste preferences. Taste the raita before serving and add more seasoning if needed.
- Creamy Texture: Whisk the yogurt well to make it smooth and creamy before adding the pureed Bathua leaves. This will ensure a consistent texture in the raita.
- Tempering Flavor: The tadka (tempering) adds a burst of flavor to the raita. Make sure to fry the cumin seeds, dry red chili, and asafoetida in ghee until they release their aroma before pouring it over the raita.
- Chilling Time: Allow the raita to chill in the refrigerator for at least 30 minutes before serving. This will enhance the flavors and make it more refreshing.
- Garnish: Sprinkle some freshly chopped coriander leaves or roasted cumin powder on top of the raita before serving for an extra burst of flavor and visual appeal.
- Serve with Accompaniments: Bathua Raita pairs well with rice, roti, biryani, or as a dip with snacks like samosas or pakoras. Serve it alongside your favorite dishes for a complete meal experience.
Serving Suggestions:
Bathua Raita | Chenopodium Yogurt Dip
Equipment
Ingredients
- 1 cup plain thick yogurt , homemade or store-bought
- 2 cups bathua leaves , about ½ cup blanched and pureed Bathua leaves
- 1 green chili ,optional
- ⅛ inch ginger , grated (about ¼ teaspoon)
- 1 clove garlic , optional
- ½ teaspoon black salt
- ¼ teaspoon roasted cumin powder
- ½ teaspoon powdered sugar , optional
For Tadka (Tempering)
- 2 teaspoon ghee
- ½ teaspoon cumin seeds
- 1 dry red chili
- 1 pinch asafoetida (hing)
Instructions
- Blanch the Bathua leaves in boiling water for a couple of minutes until tender. Drain and transfer the leaves immediately in a bowl of cold water, to stop further cooking.
- To a blender, add gently squeeze bathua leaves, green chili (optional), ginger, and garlic (optional), and blend until smooth.
- In a mixing bowl, whisk the yogurt until smooth.
- Add the pureed Bathua leaves, black salt, roasted cumin powder, and sugar (optional) to the yogurt. Mix well until all the ingredients are combined.
- In a small pan, heat the ghee over medium heat.
- Add cumin seeds to the hot ghee and let them splutter.
- Add the dry red chili and asafoetida to the pan. Fry for a few seconds until the spices release their aroma.
- Pour the tadka (tempering) over the prepared raita and mix gently.
- Your Bathua Raita is ready to serve. You can garnish it with fresh coriander leaves or a sprinkle of roasted cumin powder if desired.
- Enjoy your Bathua Raita as a refreshing side dish with your meals!
Nutrition
Disclaimer
Nutrition values are my best estimates. If you rely on them for your diet, use your preferred nutrition calculator.
Leave a Reply
You must be logged in to post a comment.